Teaching and supervision
Introduction to Teaching and supervision
The content type Teaching and supervision is used to register the teaching and supervising activities that you are currently or have been engaged in. To show your teaching activities on you personal homepage you need to add them as a section in your public Curriculum Vitae. The current portal solution is unable to display your teaching activities directly.
These informations pertain to the old portal - please wait for the new portal to be implemented - 08/01/2024. /jdab
Teaching module - Best practice
The intended use of the content type is to first create a parent course. After that, you create an occurrence for each time you taught the course. An occurrence is a specific instance of the course for when it offered e.g. “Fall 2019”. You create occurrences for courses, that are supervisory in nature, following the same method.
We recommend that you adhere to the intended use, and create an occurrence for each instance you teach the same course. If you create a parent course for every time you teach the same course, you will increase the number of courses shown in your profile overview. It will also expand the list of courses in your CV and bloat the volume of information significantly.
A course may change over time. For example, the number of ECTS-points or curriculum could change. Depending on how much the course changes character, it might be appropriate for you to create a new parent course.
Create a course

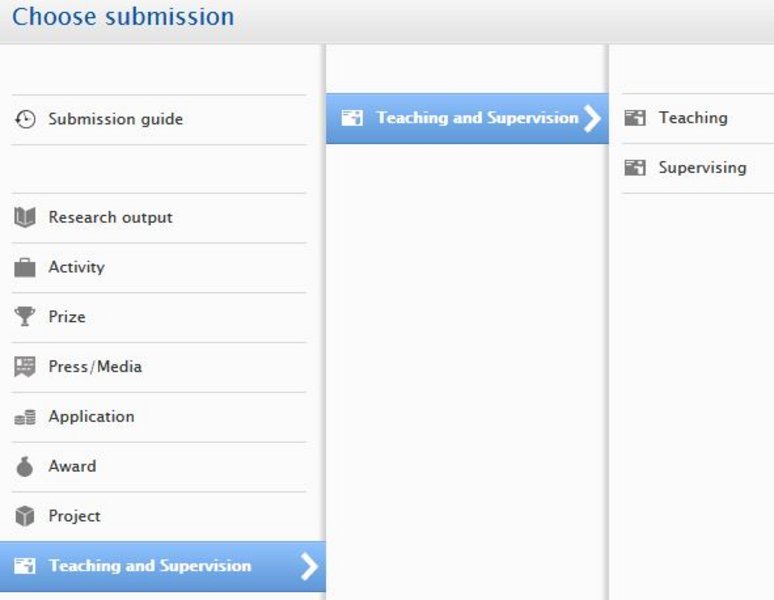
- Click the green “Add new” button and find “Teaching and supervision” in the menu. Follow the hierarchy and select either “Teaching” or “Supervising” as subtype”.
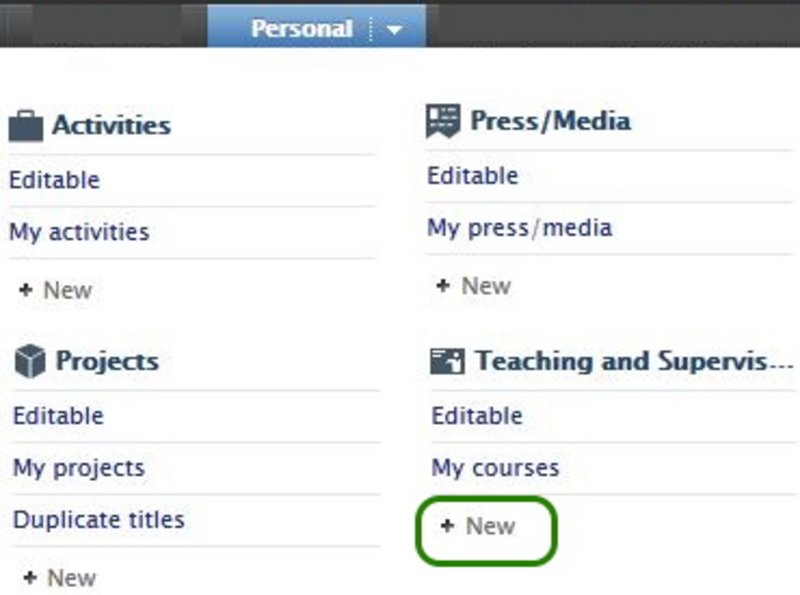
- From your profile overview open the mega menu by clicking on the arrow to the right of “Personal” and select “New” under “ Teaching and supervision”. Follow the hierarchy and select either “Teaching” or “Supervising” as subtype”.
Fill out the template
Fill out the template with information about the course. Remember to fill out the field in both Danish and in English if you plan to publish your courses and teaching activities to your Curriculum Vitae.
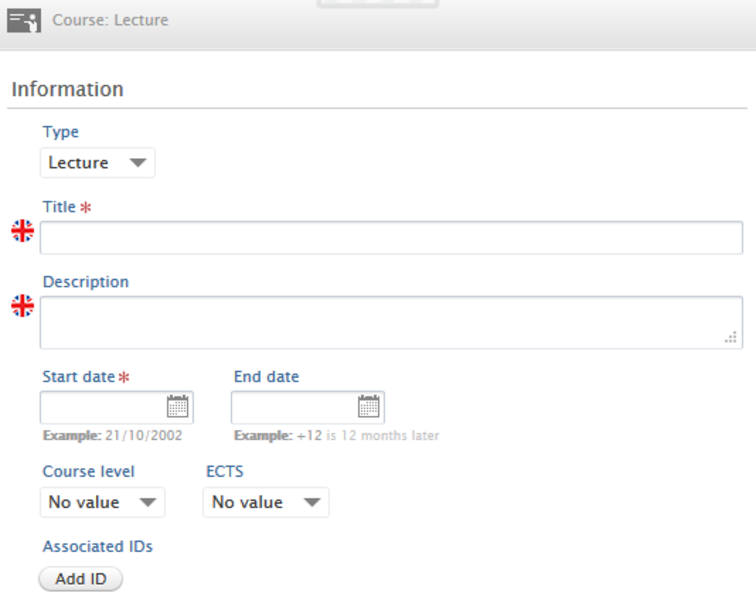
Type
If you wish to change the course type from Teaching to Supervising, you can do this in the drop-down menu under “Type”. The templates for the two types contain the same information, and you do not lose data by switching.
Title
Write the official title of the course. If the course is listed in the university course catalogue, it might be appropriate to use the same title.
Description
Provide a short course description. You can reuse some of the description from the course catalogue, or just write something yourself. You can add the link to the course in the course catalogue in the text field so the reader can find the course directly in the course catalogue. If you want to include course characteristics, e.g. laboratory lecture, workshop, you can specify it here.
Start date and end date
Type or pick from the calendar the course start date. If the course is still active and is offered periodically you do not need to set an end date. If you know the course end date you can enter it, even if it is far into the future. If unknown leave it blank.
Course level
From the drop-down menu select the course's educational level. If more than one level apply, select the highest level.
ECTS
Select the number of ECTS credit the course gives.
Related ID
You can add an ID to the course. The ID could be the STADS ID or the course ID in the course catalogue. The ID helps users, identifying the course correctly in the STADS system or course catalogue. Click “Add ID” and type the ID in the field. Finish by clicking “Create”.
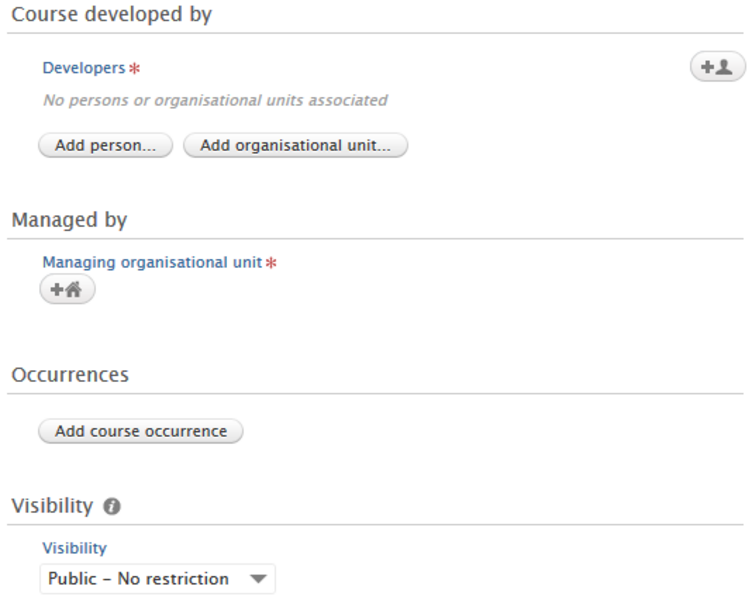
Associate course developer
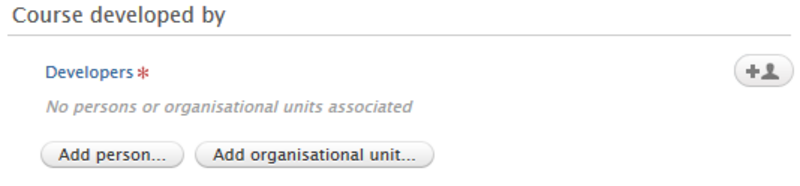
Add the persons who developed the course. This includes course concept, structure or the actual course material. You can add yourself as well as other persons, and as many persons as needed.
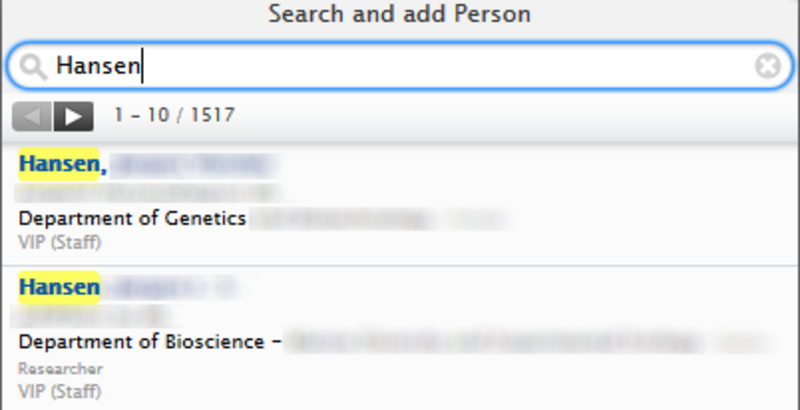
Click” Add person” and search for the persons you want to add. It is only possible to add persons who are currently employed at AU, or have been.
If it is not possible to assign a specific person as course developer, you can add the organisational unit where the course was developed. Click “Add organisational unit” to do that.
Add administrative organisation
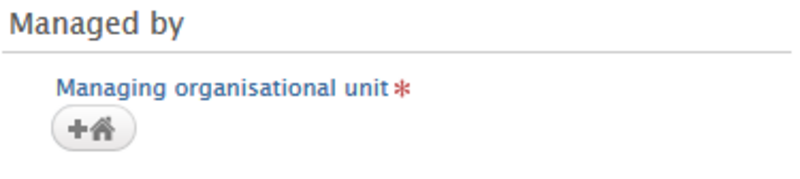
The administrative organisation is the organization where the course is anchored. Typically, it is the organisational unit that is academically responsible for the course. Click on the icon (add organisational unit) and search for the unit you want to add. It is only possible to add internal (AU) units.
Create an occurrence

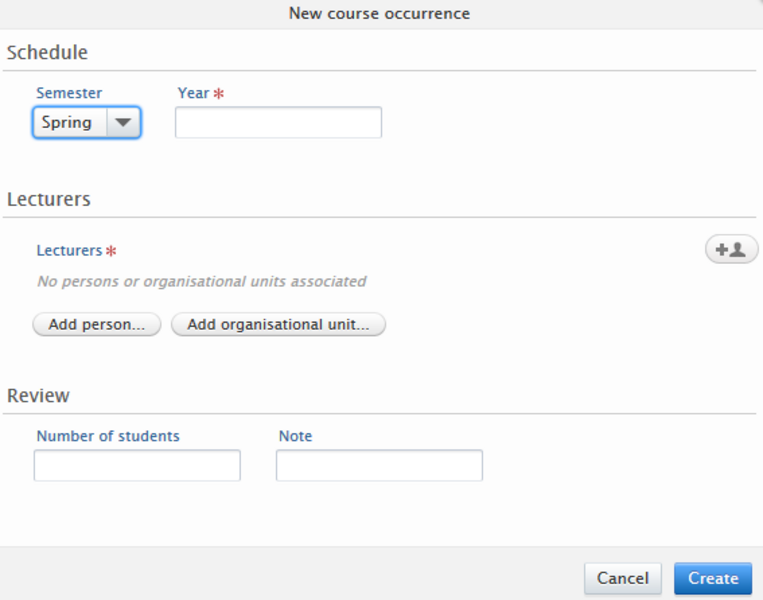
An occurrence is equal to teaching a course during a specific period. This is typically a semester.
Click “Add course occurrence”. This gives you a new template with fields to fill in.
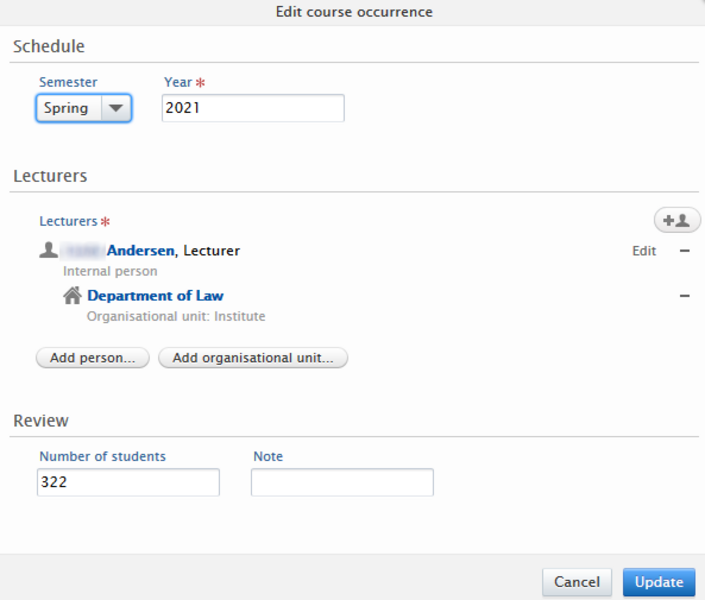
Schedule
Select if the course is given during the Fall or Spring semester, and fill in which year. If Fall or Spring do not apply, leave this field at ( - ) and simply fill in the year.
Lecturers (Teachers/Supervisors)
Click “Add person” to add the person(s) who taught or supervised the students during this period. Search for and add the relevant person(s). You can search for internal AU employees or create an external person if you need to add a person from outside of AU.
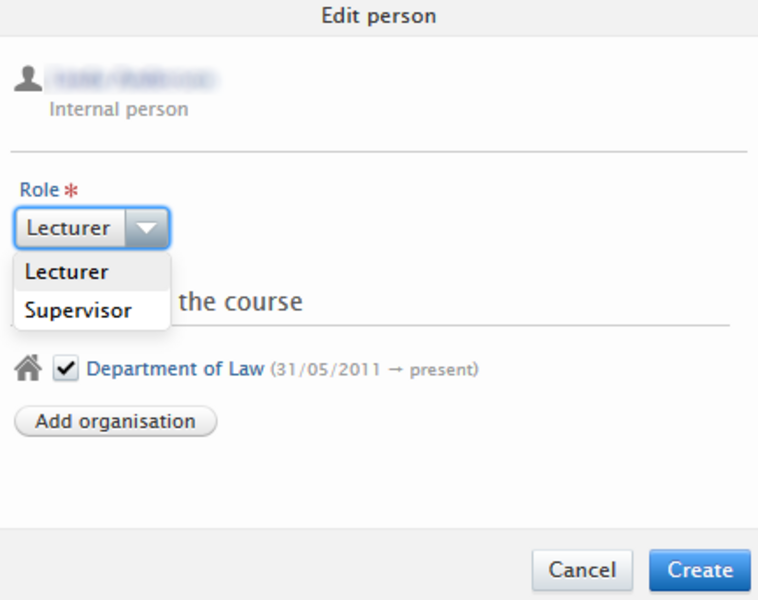
When you have found and added the person, you need to select the person’s role from the drop-down menu. Select whether the person was lecturer or supervisor. The person’s role is only selected for this particular occurrence.
It is not possible to create an occurrence without adding a person.

Pure automatically affiliates an organisational unit based on where the person is currently employed. You can remove the affiliation and feature the lecturer without an affiliation, or you can replace it with a different one by clicking “Add organization”. You can also create additional affiliations.