Projects
The "Project" content type in Pure is a powerful way to connect and display related content in one view.
Different types of content e.g. publications, researchers, and awards can be tied to a project. That makes it possible to show who and what belong to the project.
The relationship, that is formed when two pieces of content are tied together is bidirectional. It means that when e.g. a publication is related to project, the project becomes related to the publication, and either item will show up as related content under the other item.
Create new project
Create new project

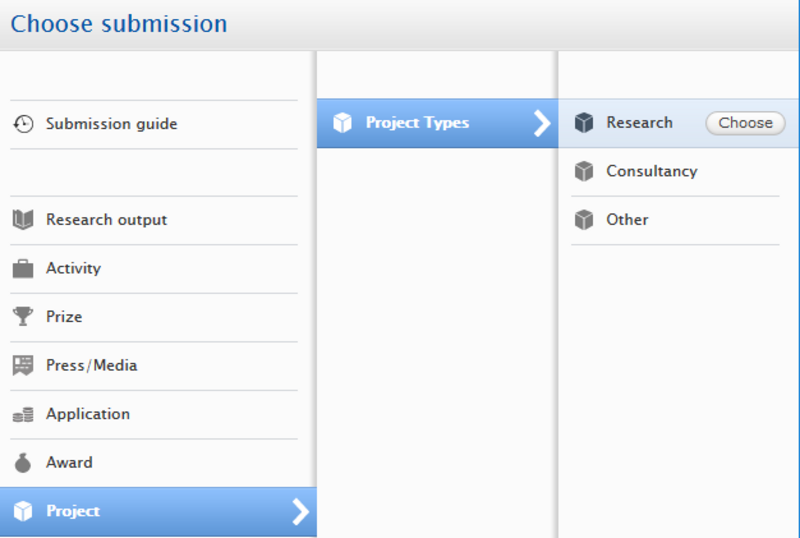
Find "Projects" in the left-hand menu and navigate to "Project types". There are three project types to chose from. Choose the type that best suits your project by clicking on "Choose". That opens the corresponding project template.
If neither "Research" og "Consultancy" fit, select "Other" and use the data fields in the template to define your project.
You can see the project type you selected in the first data field "Project type". The project type can be changed by using the drop-down menu.
"Nature of activity type" is used to further characterize the project. The activity types are "tags" that you attach to the project. If you have many projects, the activity types can be helpful in finding the relevant project in a search.
The chosen activity types are shown under the project. You can add and remove them as needed.

Project identification
Project identification
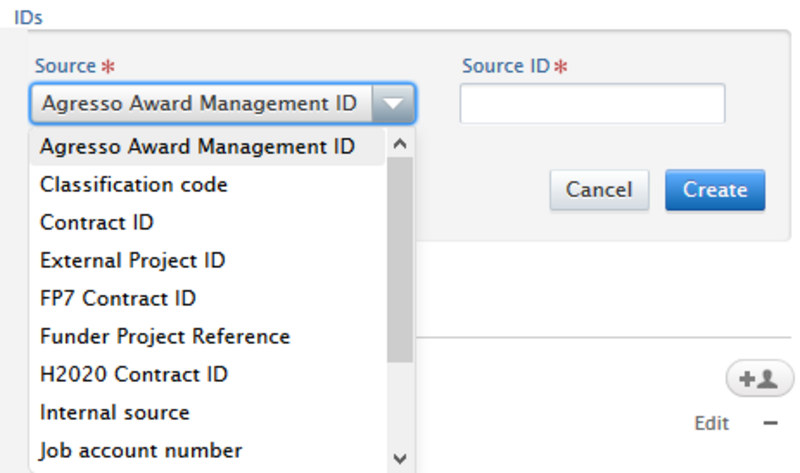
If the project has an ID in another system or in another context it can be added in this section. Skip the field if it is not relevant.
Otherwise, select the best option. There are a few options that are not tied to any specific source e.g. "Internal source" or "External Project ID". You are free to use these as you like. Enter the ID information and click "Create" to finish.
It is possible to add more than one ID.
Participants and organizations
Participants and organizations
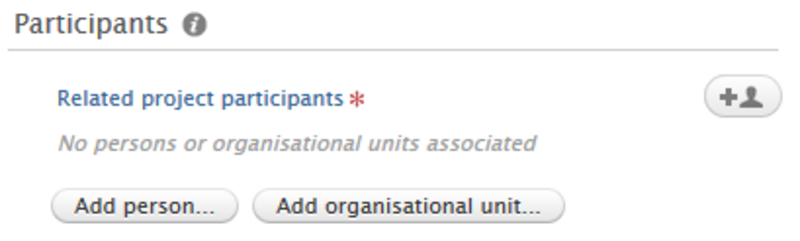
In the "Participants" section you can add all persons and organizations that are relevant to the project.
You can search all internal (AU) and external persons who already exist in Pure. You also have the option to create a new external person if the person is not already in Pure.
Click "Add person" to start building the list of participants.
If you would like to be added to a project that you have not created in Pure, you need to contact the project owner and ask to be added to the project. Otherwise, you will not be able to make changes to the project.
Participants are created with the following information:
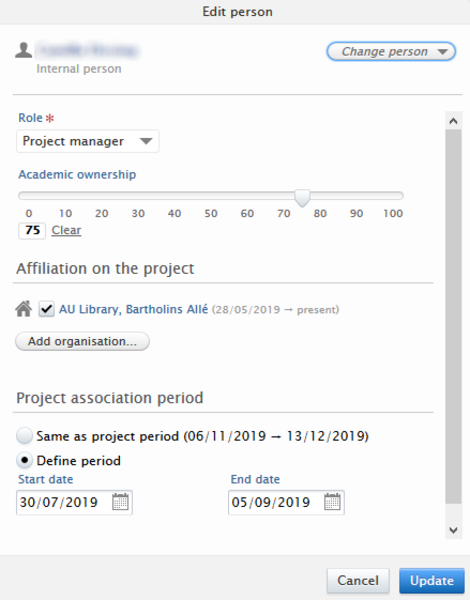
Project role
Each participant can have a role assigned. The role should reflect the person's function in the project. When your create the project, you are automatically assigned the role "PI" (Project Investigator). Click "edit" to change your role.
Add a role for each participant if possible.
Academic ownership
Academic ownership is used to indicate who owns the research output and how these rights are shared.
Affiliations on the project (Organizational units)
Here you add the organization the participant is affiliated with. A participant can, in the context of the project, be affiliated with an organizational unit different from the unit where the participant is formally employed. Participants should appear with the organizational unit that is relevant in context of the project.
Pure will suggest one or more organizational affiliations that you can select from. As default Pure will suggest the unit that you, creating the project, are affiliated with. If you are not satisfied with Pure's suggest you can search for and select another organization.
You may also add an organization unit without an associated participant. The could be necessary if the organization is represented as whole (larger) group. If the unit is already associated with one or more participants, you will not be able to add it as a separate item on the participant list.
Project association period
Here you can define the period of time the participant is part of the project. If the person is not part of the project in its entire duration, you have the option to define the period the person participated. Otherwise, the period is automatically set to follow the course of the project.
Finish the participant entry by clicking "Create" (or "Update" if you have edited an existing participant).
Roles of the organizations
Roles of the organizations
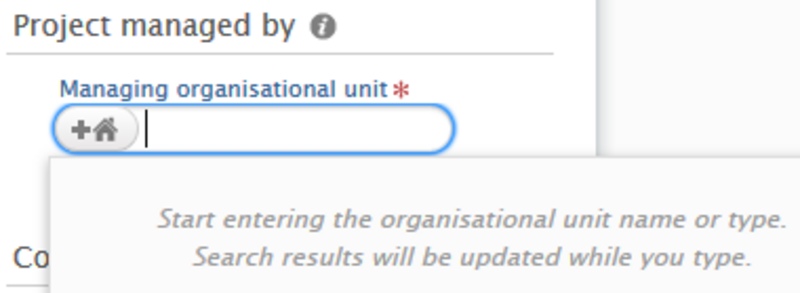
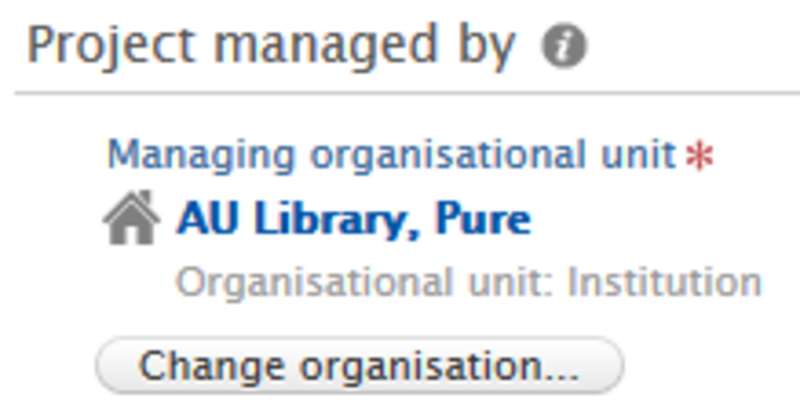
Under "Project managed by" you add the organizational unit that is overall responsible for the project. Search for and select the organization that you want to add. It is only possible to select internal units (AU) as a project needs to anchored somewhere at AU.
You can easily change the organizational unit by clicking "change organization".
Collaborative partners
This section makes it possible to summarize which organizations, at a high level, collaborate in this project If only organizational units from AU participate in the project it is not Collaborative and you leave the setting at "No".
If you mark "Collaborative project" as "Yes" the "Add collaborator" button will appear.
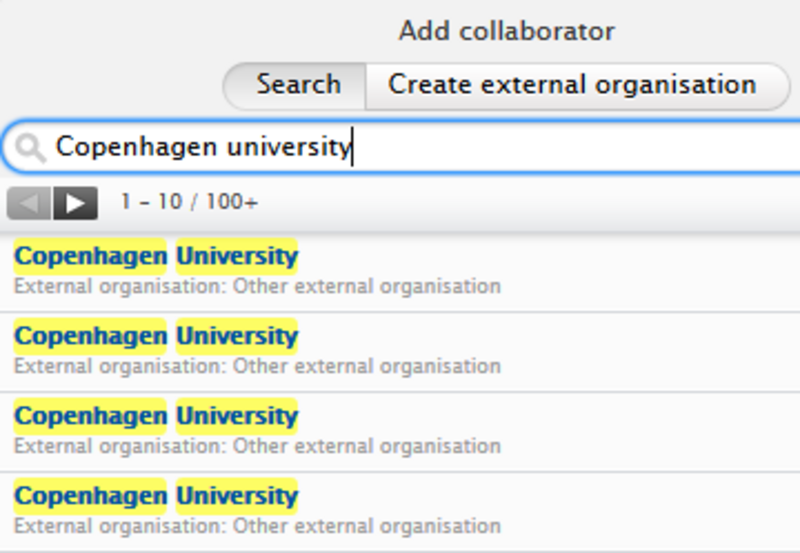
Click the button "Add collaborator". You have the option to add internal (AU) and external organizations. Search for the organization you want, and add it by clicking its name in the list of search results. The search-result list may be very long and contain several duplicates. You get the best selection by searching by the organization's official name. If there are multiple identical choices, just select the top one.
If you can't find your collaborator in the list and are creating a new organization, make sure it is identifiable: we validate external organizations and delete those we cannot verify.

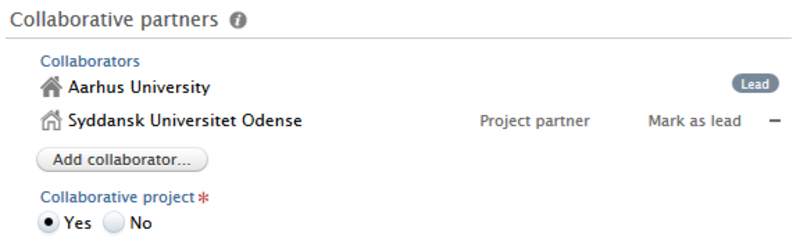
Next you need to assign a type to the collaborative partner. You are able to do this after you have added the partner to the list. Click on "No value" and select either "Joint applicant" and "Project partner" value from the drop-down list. Leave the value at "No value" if this information is not relevant in your project.
One of the organizations on the list of Collaborative partners has to be the lead. If there is only one organization on the list, it will automatically be "Lead". Click on "Mark as lead" next to the organization that holds the project leadership to select the organization that leads the project. This is also how you change leadership from one organization to another.

If you mark "No" under "Collaborative partners" after you have added collaborators, the list of collaborators are only hidden; they are not removed. If you want to remove collaborators from the list, you need to delete them manually by clicking the minus-symbol to the right of the name of the organization you want to delete.
Documents and links
Documents and links

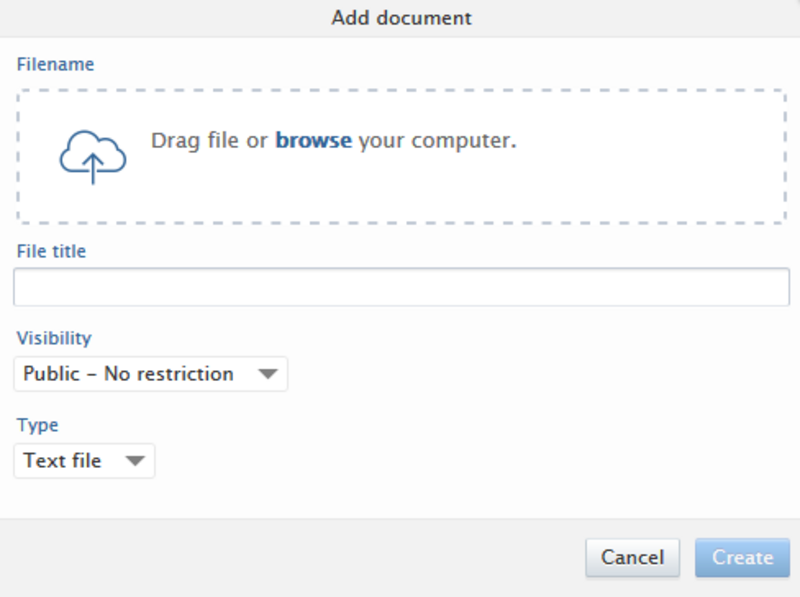
To add a document click "Add document". That gives you the option to select a file from a specific location. Click "browse" or drag the file into the window directly from the file explorer on your computer to transfer it to Pure.
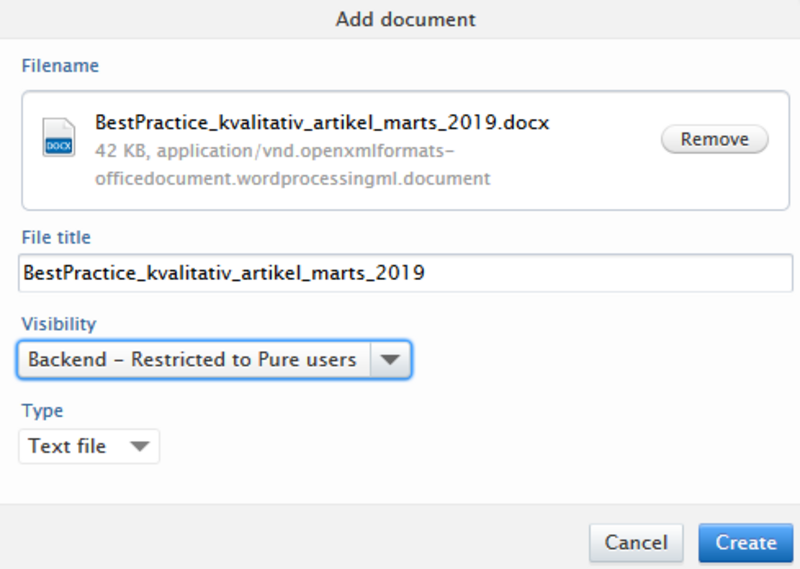
The file title is automatically copied into the "File title" field. You can edit the title to make is reader-friendly. It could be a good idea to replace the file name with the document title for better identification of the document. It would depend on the file type.
Select the visibility of the file. If you select e.g. "Backend - Restricted to Pure users" the file is only visible to users logged onto Pure. Visibility is set for the individual file, enabling you to control which files are shown with the project on your personal homepage.
Select the type for the file you are adding to give users an idea of what to expect when they open it.
Click "Remove" if you change your mind about transferring the file to Pure.
Otherwise, click "Create" to finish the upload and relate the file to the project.

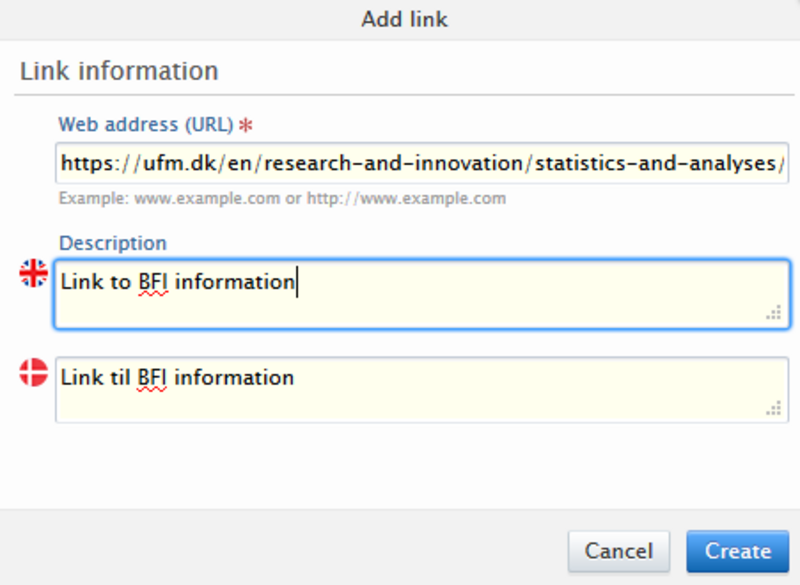
To add a link click "Add link" (see above). Links are used to point users to relevant homepages, online sources, documents etc. Add the URL in the field. Continue by adding a description in Danish and/or English.
It is not possible to set visibility for links. All links you add are shown with the project on the AU personal homepage (portal).
Click "Create" when you have completed the information.
Relateret indhold
Relateret indhold
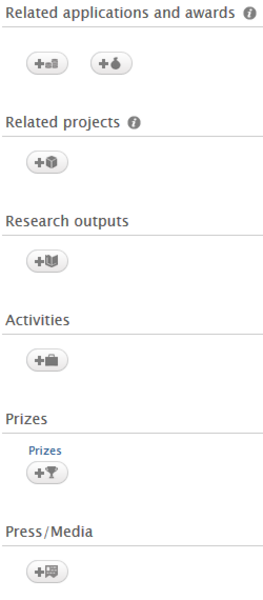
One of the advantages of adding your project to Pure is that you can related other types of content e.g. publications, activities, and press articles, and have them all show in a collective view. You have to create the individual pieces of content in Pure before you can relate them to one another.
The buttons that have a plus-symbol and an icon (see fig.) show that you are able to relate a certain type of content to the project.
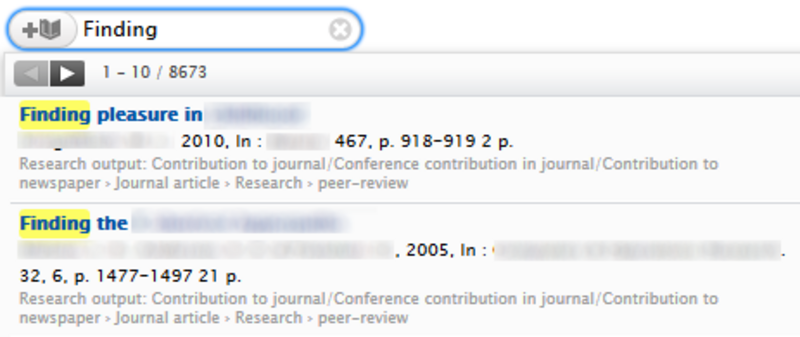
For example, click on "Research output". Pure will start by suggesting research output that is related to you. Select from the list of suggestions, or write part of a title to find different research output to relate. The item you select is automatically related when you click on its title; the search window is closed with that same action.
Use the same method to relate other types of content to the project.
Keywords
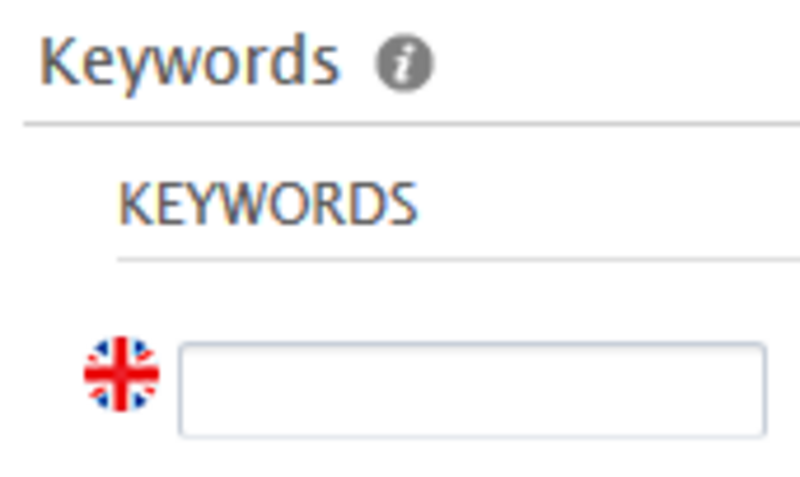
Keywords
Keyword can be used to facilitate search and supplement the words that already make up the project title and descriptions that you added under "Identification". Keywords could be an abbreviation or alternate spelling of a key term, or a central project concept or topic. There is no limit to how many keywords you can add. However, to make your project relevant in a search context, a few specific words are often better than many board terms.
Visibility
Visibility
Visibility is for the project as a whole. Mouse over the information icon to see what option you have, and what they mean. If you would like your project to be visible to only project participants, you need to select "Confidential".
Each piece of content you relate to your project has its own visibility setting. It means that you can have an application set as "Confidential" but the project is set to "No restrictions". The result is, that the project is visible to everybody visiting your personal homepage, but the application is hidden and do not appear under the project.
