How to send secure emails
Send confidential information and sensitive personal data via email by using the Sikker@Mail plugin. Sikker@Mail encrypts and digitally signs your emails.
- The encryption ensures that only the recipient can read the email.
- The digital signature ensures that the sender is the person they claim to be and that the content is the same as when it left the sender.
How to send a secure email
How to send a secure email
Before you begin
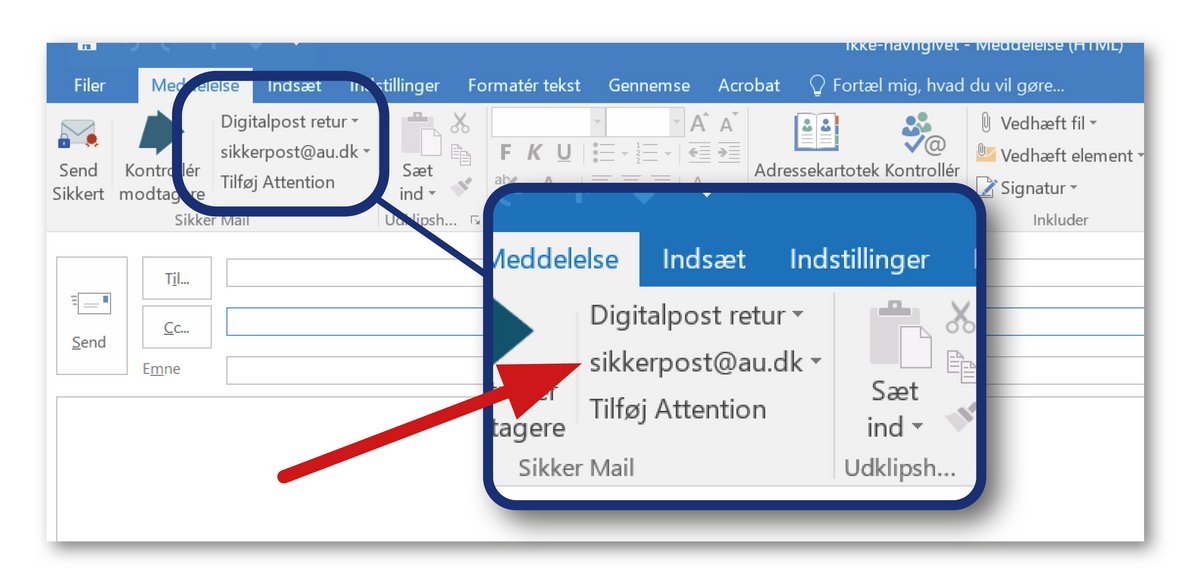
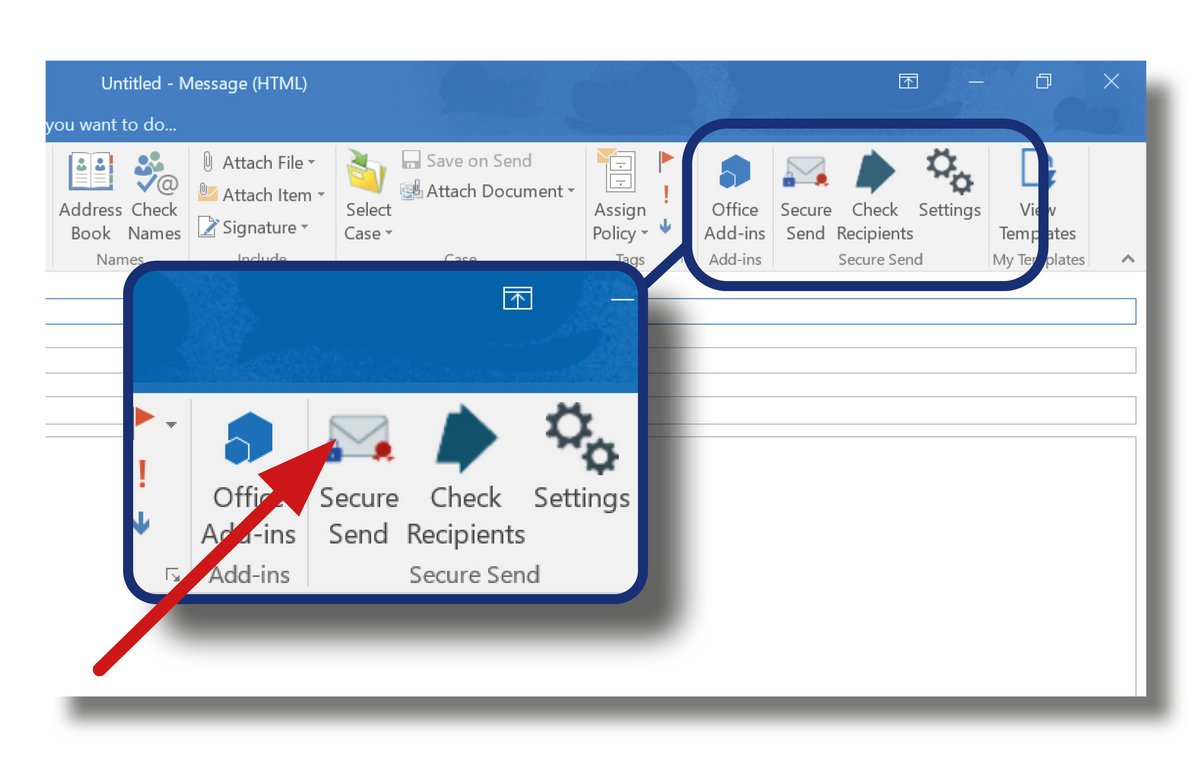
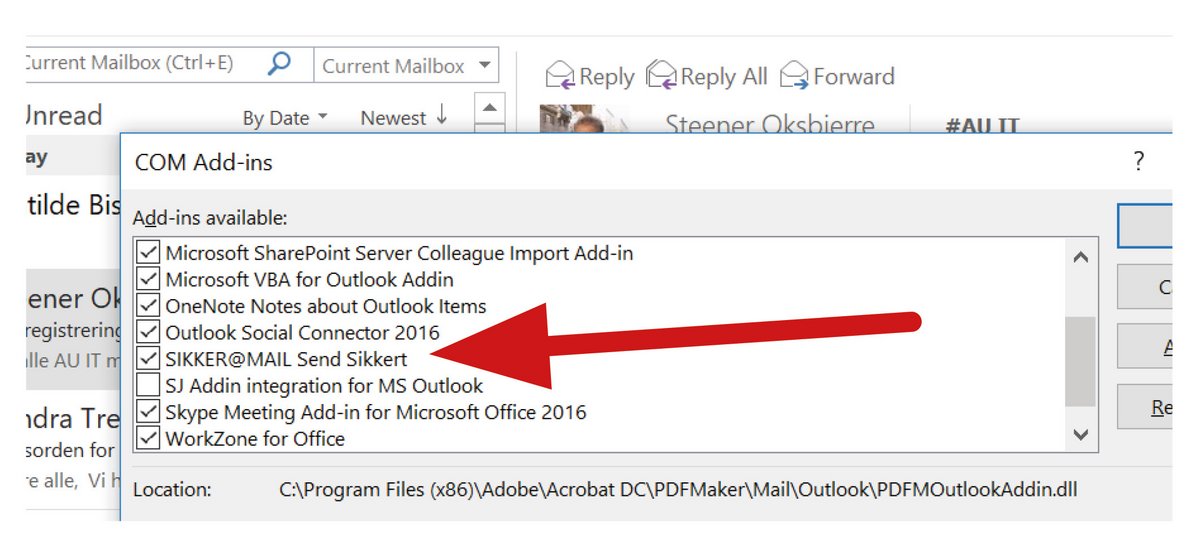
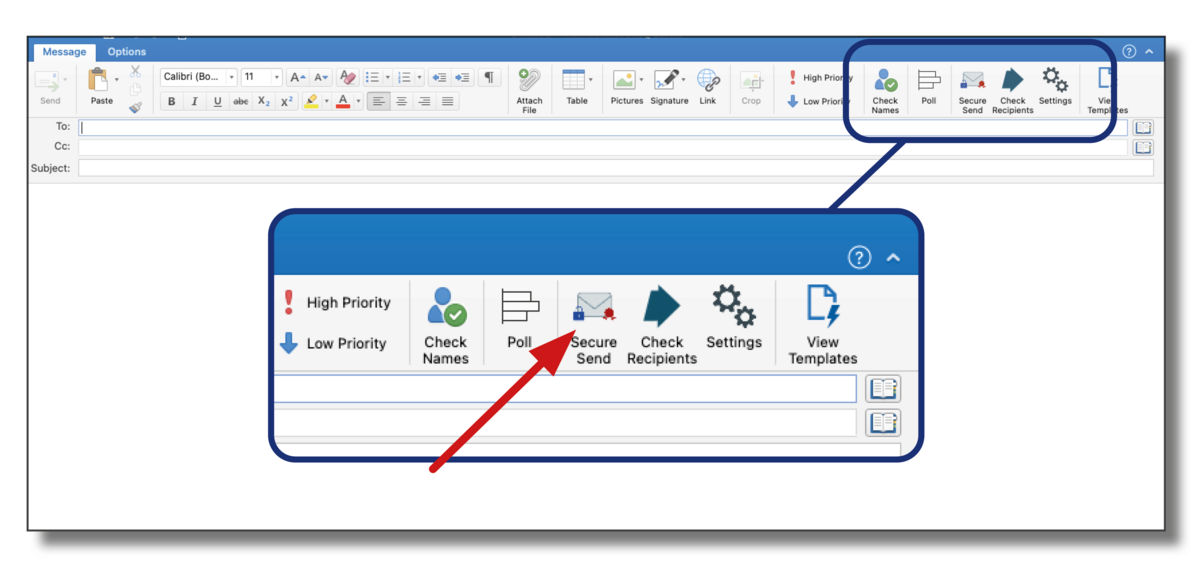
- Check that the Sikker@Mail plugin has been installed and is visible in Outlook once you have clicked New message.
- If you are working from home, make sure you are connected to a VPN
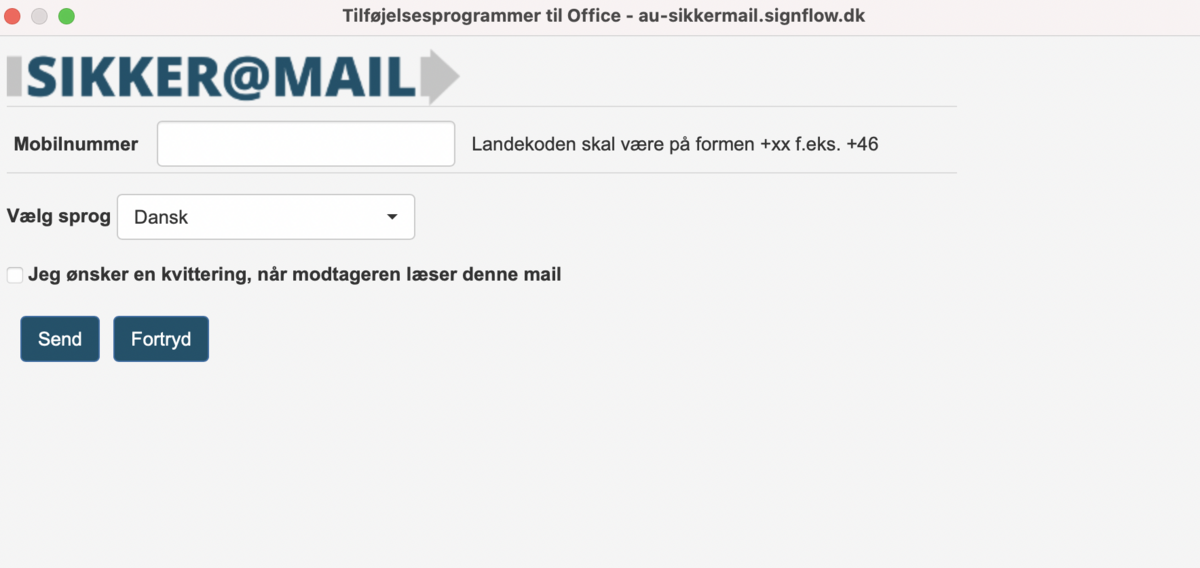
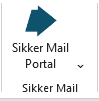
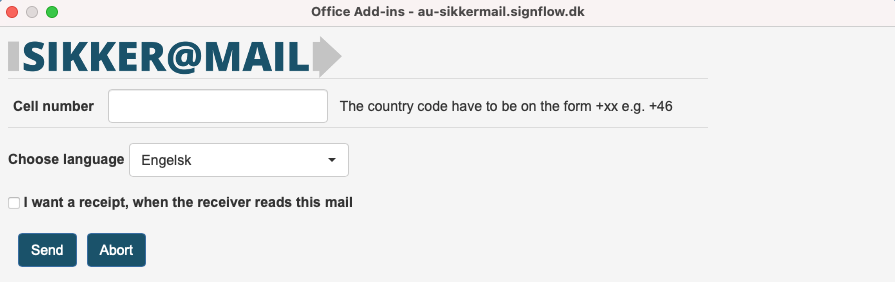
- You may want to check in advance whether a recipient is registered with secure email by clicking on the "Secure Mail Portal" button
Write and send secure email
- Click on New message and type your email as usual.
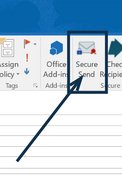
- To send the email, click on Secure Send.

How to send a secure email
How to send a secure email
Before you begin
- Check that the Sikker@Mail plugin has been installed and is visible in Outlook
- If you are working from home, make sure you are connected to a VPN
Can’t see the Secure Send button?
Can’t see the Secure Send button?
How to send a secure email from a shared mailbox
How to send a secure email from a shared mailbox
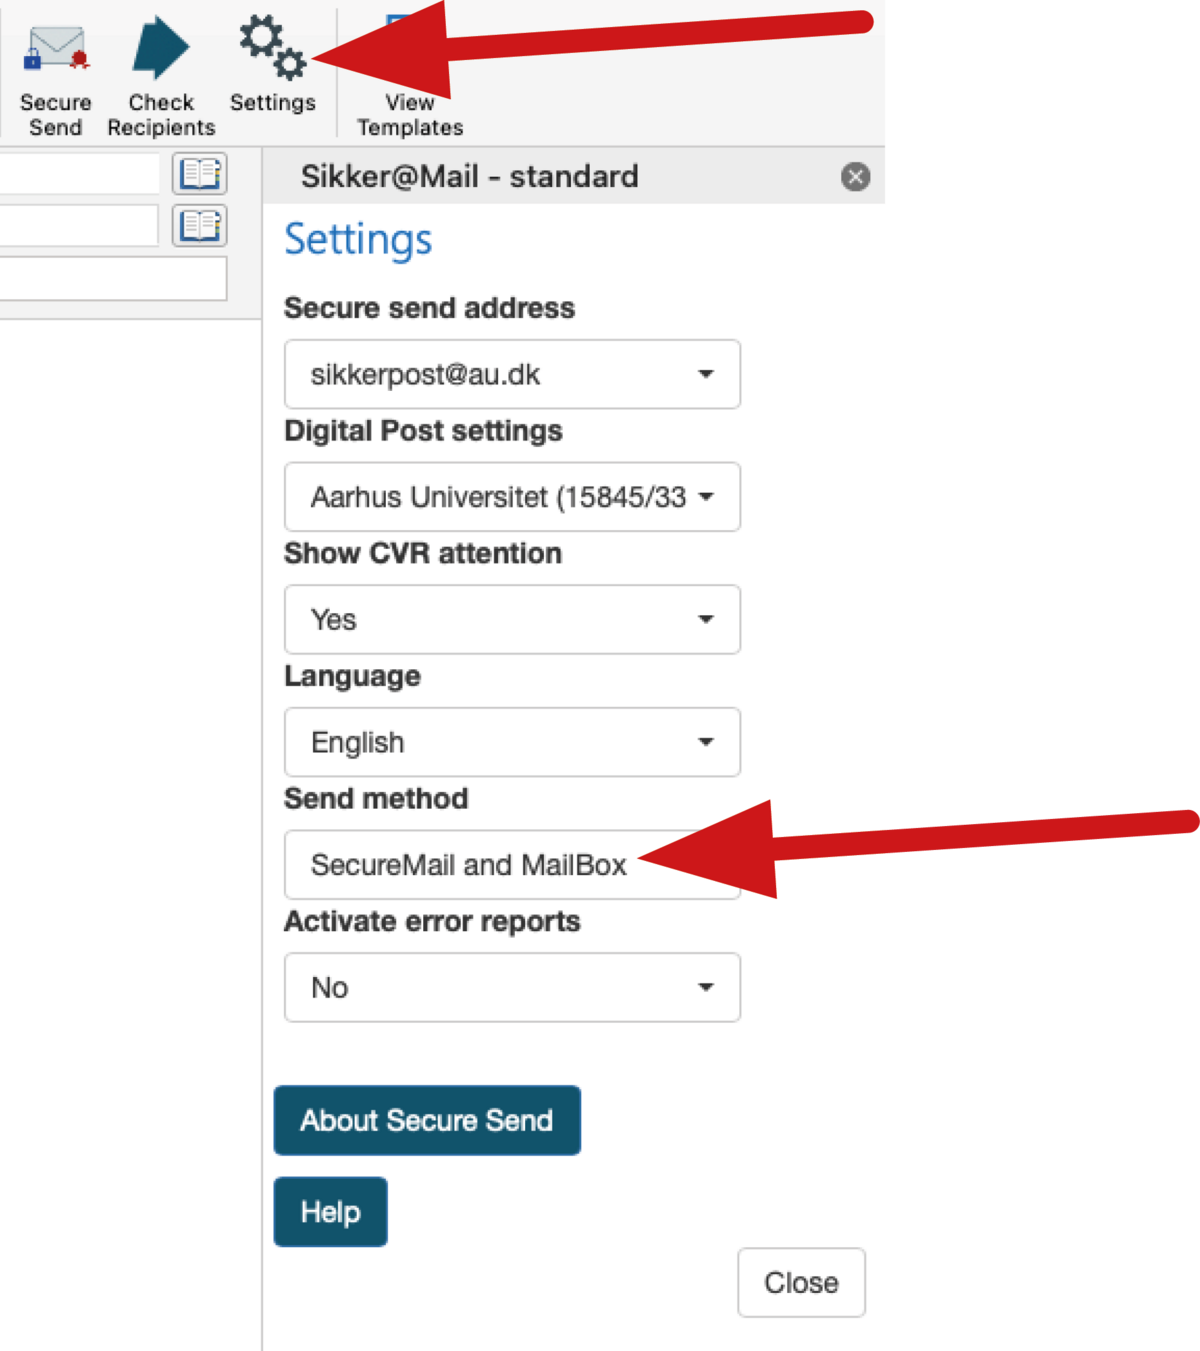
If the people in your unit need to send secure emails frequently or several people are working together and need to send secure emails, we recommend that you use a shared mailbox with a security certificate. You can use this shared mailbox to send and receive secure emails. It will also be possible for each person to send secure emails from their personal mailbox.
Your local IT support team can help set up a shared mailbox with a security certificate.
When you want to send the email, check that you are sending the email from the shared mailbox with the security certificate, and then click Secure Send. If the recipient also has a secure email solution, the email will be sent securely and any responses will also be sent securely back to your inbox.